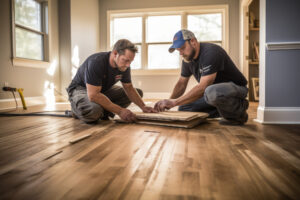
How to prepare your subfloor for a successful hardwood floor installation
When it comes to installing hardwood flooring, proper preparation of the subfloor is crucial for a successful and long-lasting installation. Subfloor preparation involves several steps that ensure the subfloor is level, clean, dry, and free of any damage or imperfections that may affect the installation of the hardwood flooring.
In this article, we’ll provide a step-by-step guide to help you prepare your subfloor for hardwood installation. By following these steps, you’ll ensure that your hardwood flooring looks beautiful and performs well for years to come. Remember to always follow the manufacturer’s instructions for your specific type of hardwood flooring and subfloor. If you’re unsure of how to proceed, consider hiring a professional hardwood flooring installer in Weston. Now, let’s get started!
What you'll need:
- Pry bar or crowbar
- Hammer
- Circular saw or jigsaw
- Belt sander or floor sander
- Hand scraper or floor scraper
- Vacuum or broom and dustpan
- Damp mop or cloth
- Moisture meter
- Chalk line or straight edge
- Carpenter's level
- Moisture barrier (if needed)
- Adhesive or nails (depending on installation method)
Now, let's do it!
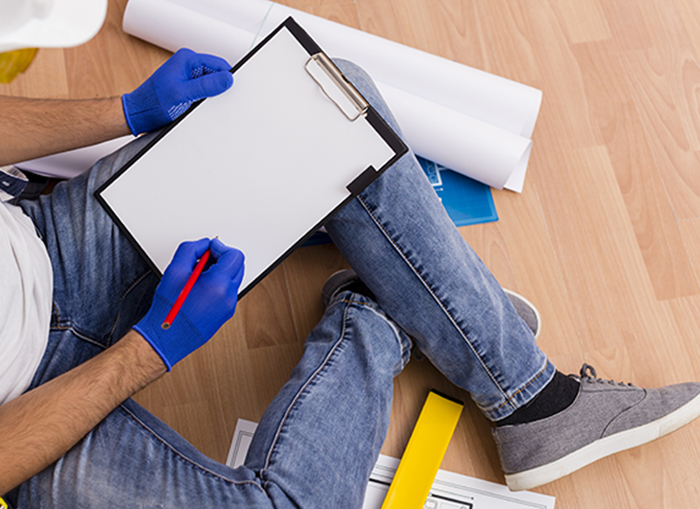
I. Inspect and Repair the Subfloor
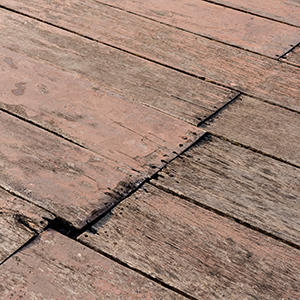
Before you begin any subfloor preparation, it’s important to inspect the subfloor for any damage, unevenness, or imperfections that may affect the installation. Use a straight edge or level to check for any low or high spots, and look for any loose or squeaky boards.
If you find any damaged or uneven areas, use a pry bar or crowbar to remove any damaged boards or plywood. Replace any damaged or rotten subflooring and use a leveling compound to level any uneven areas.
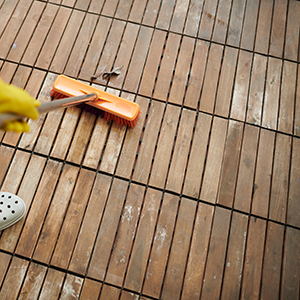
II. Clean the Subfloor
After repairing the subfloor, the next step is to clean the subfloor thoroughly. Remove any debris, dirt, or dust using a vacuum or broom and dustpan. Then, use a damp mop or cloth to remove any remaining dirt or dust.
III. Install a Moisture Barrier
If your subfloor is concrete or has a high moisture content, you’ll need to install a moisture barrier to prevent moisture from damaging the hardwood flooring. There are several types of moisture barriers available, including plastic sheeting, roofing felt, or specialized moisture barrier products. Consult the manufacturer’s instructions to determine which type of moisture barrier is appropriate for your subfloor and follow the installation instructions carefully.
IV. Acclimate the Hardwood Flooring
Before installing the hardwood flooring, it’s important to allow the flooring to acclimate to the room’s temperature and humidity. Follow the manufacturer’s instructions for acclimation time, which may vary depending on the type of hardwood flooring and the climate in your area.
V. Test for Moisture
Finally, it’s important to test the subfloor and the hardwood flooring for moisture content. Use a moisture meter to check that both the subfloor and the hardwood flooring are within the acceptable moisture range, as specified by the manufacturer’s instructions.
By following these steps, you’ll ensure that your subfloor is properly prepared for the hardwood floor installation and that your flooring will look beautiful and perform well for years to come.
The Importance of Proper Subfloor Preparation for Hardwood Flooring Installation
Preparing the subfloor is critical for the success of your hardwood flooring installation. If you do not do it, it can lead to a variety of problems, including:
Uneven or unstable flooring: If the subfloor is not level or has any damage or imperfections, it can cause the hardwood flooring to become uneven or unstable. This can lead to creaking, squeaking, or even gaps between the planks.
Moisture damage: Moisture is one of the biggest enemies of hardwood flooring. If the subfloor is not properly sealed or if there are any moisture issues in the room, it can cause the hardwood flooring to warp, buckle, or cup over time. This can be expensive to repair and may even require a complete replacement of the flooring.
Premature wear and tear: If the subfloor is not properly cleaned before installation, it can cause dirt, debris, or other contaminants to become trapped between the subfloor and the hardwood flooring. This can lead to premature wear and tear on the flooring, making it more susceptible to damage and reducing its lifespan.
Voiding of warranty: Many hardwood flooring manufacturers require that the subfloor be prepared according to specific guidelines in order to maintain the warranty. Failure to prepare the subfloor properly may void the warranty and leave you responsible for any repairs or replacements.
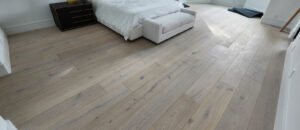
Properly preparing the subfloor ensures that your hardwood flooring is installed on a stable and level surface, with adequate protection against moisture and other potential issues. By taking the time to prepare the subfloor correctly, you’ll help to ensure that your hardwood flooring looks beautiful and performs well for years to come.
Choose Diamond Hardwood Floors
If you’re feeling overwhelmed or unsure about tackling this task yourself, you don’t have to worry. At Diamond Hardwood Floors, we have the expertise and experience to handle all aspects of your hardwood floor installation, including subfloor preparation.
We pride ourselves on providing top-notch, professional services that ensure your hardwood floors will look beautiful and last for years to come. So, if you want to ensure a successful and stress-free hardwood floor installation in Weston, don’t hesitate to contact us for help.